The Only Kombucha Brewing Equipment You Need to Start (No Starter Kit Required)
This post contains affiliate links. If you buy something through a link I may earn a small commission at no extra cost to you.
Before I brewed my first batch of kombucha I spent about two hours reading about starter kits online. There were ceramic crocks, wooden taps, pH meter bundles, special cloth covers, temperature strips, and various jars with “kombucha” printed on the side in nice fonts.
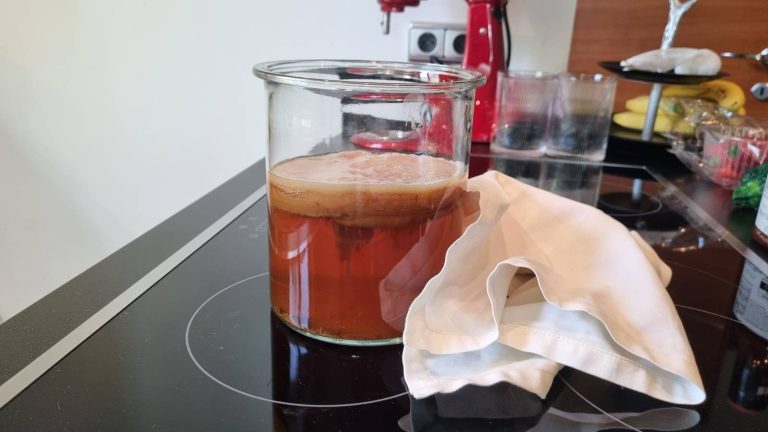
I didn’t buy any of it. I used a large glass jar I already owned, a piece of old tea towel, and a rubber band.
That batch turned out fine.
This post is the equipment guide I wish someone had handed me before I started. It covers exactly what you need, what you absolutely don’t need, and what’s genuinely useful once you’ve got a few batches under your belt.
If you want the full brewing process from start to finish, read my complete beginner’s guide to brewing kombucha at home. This post is the equipment section expanded into its own guide.
The Essentials — What You Actually Need
These are the things you cannot brew without. Everything else is optional.
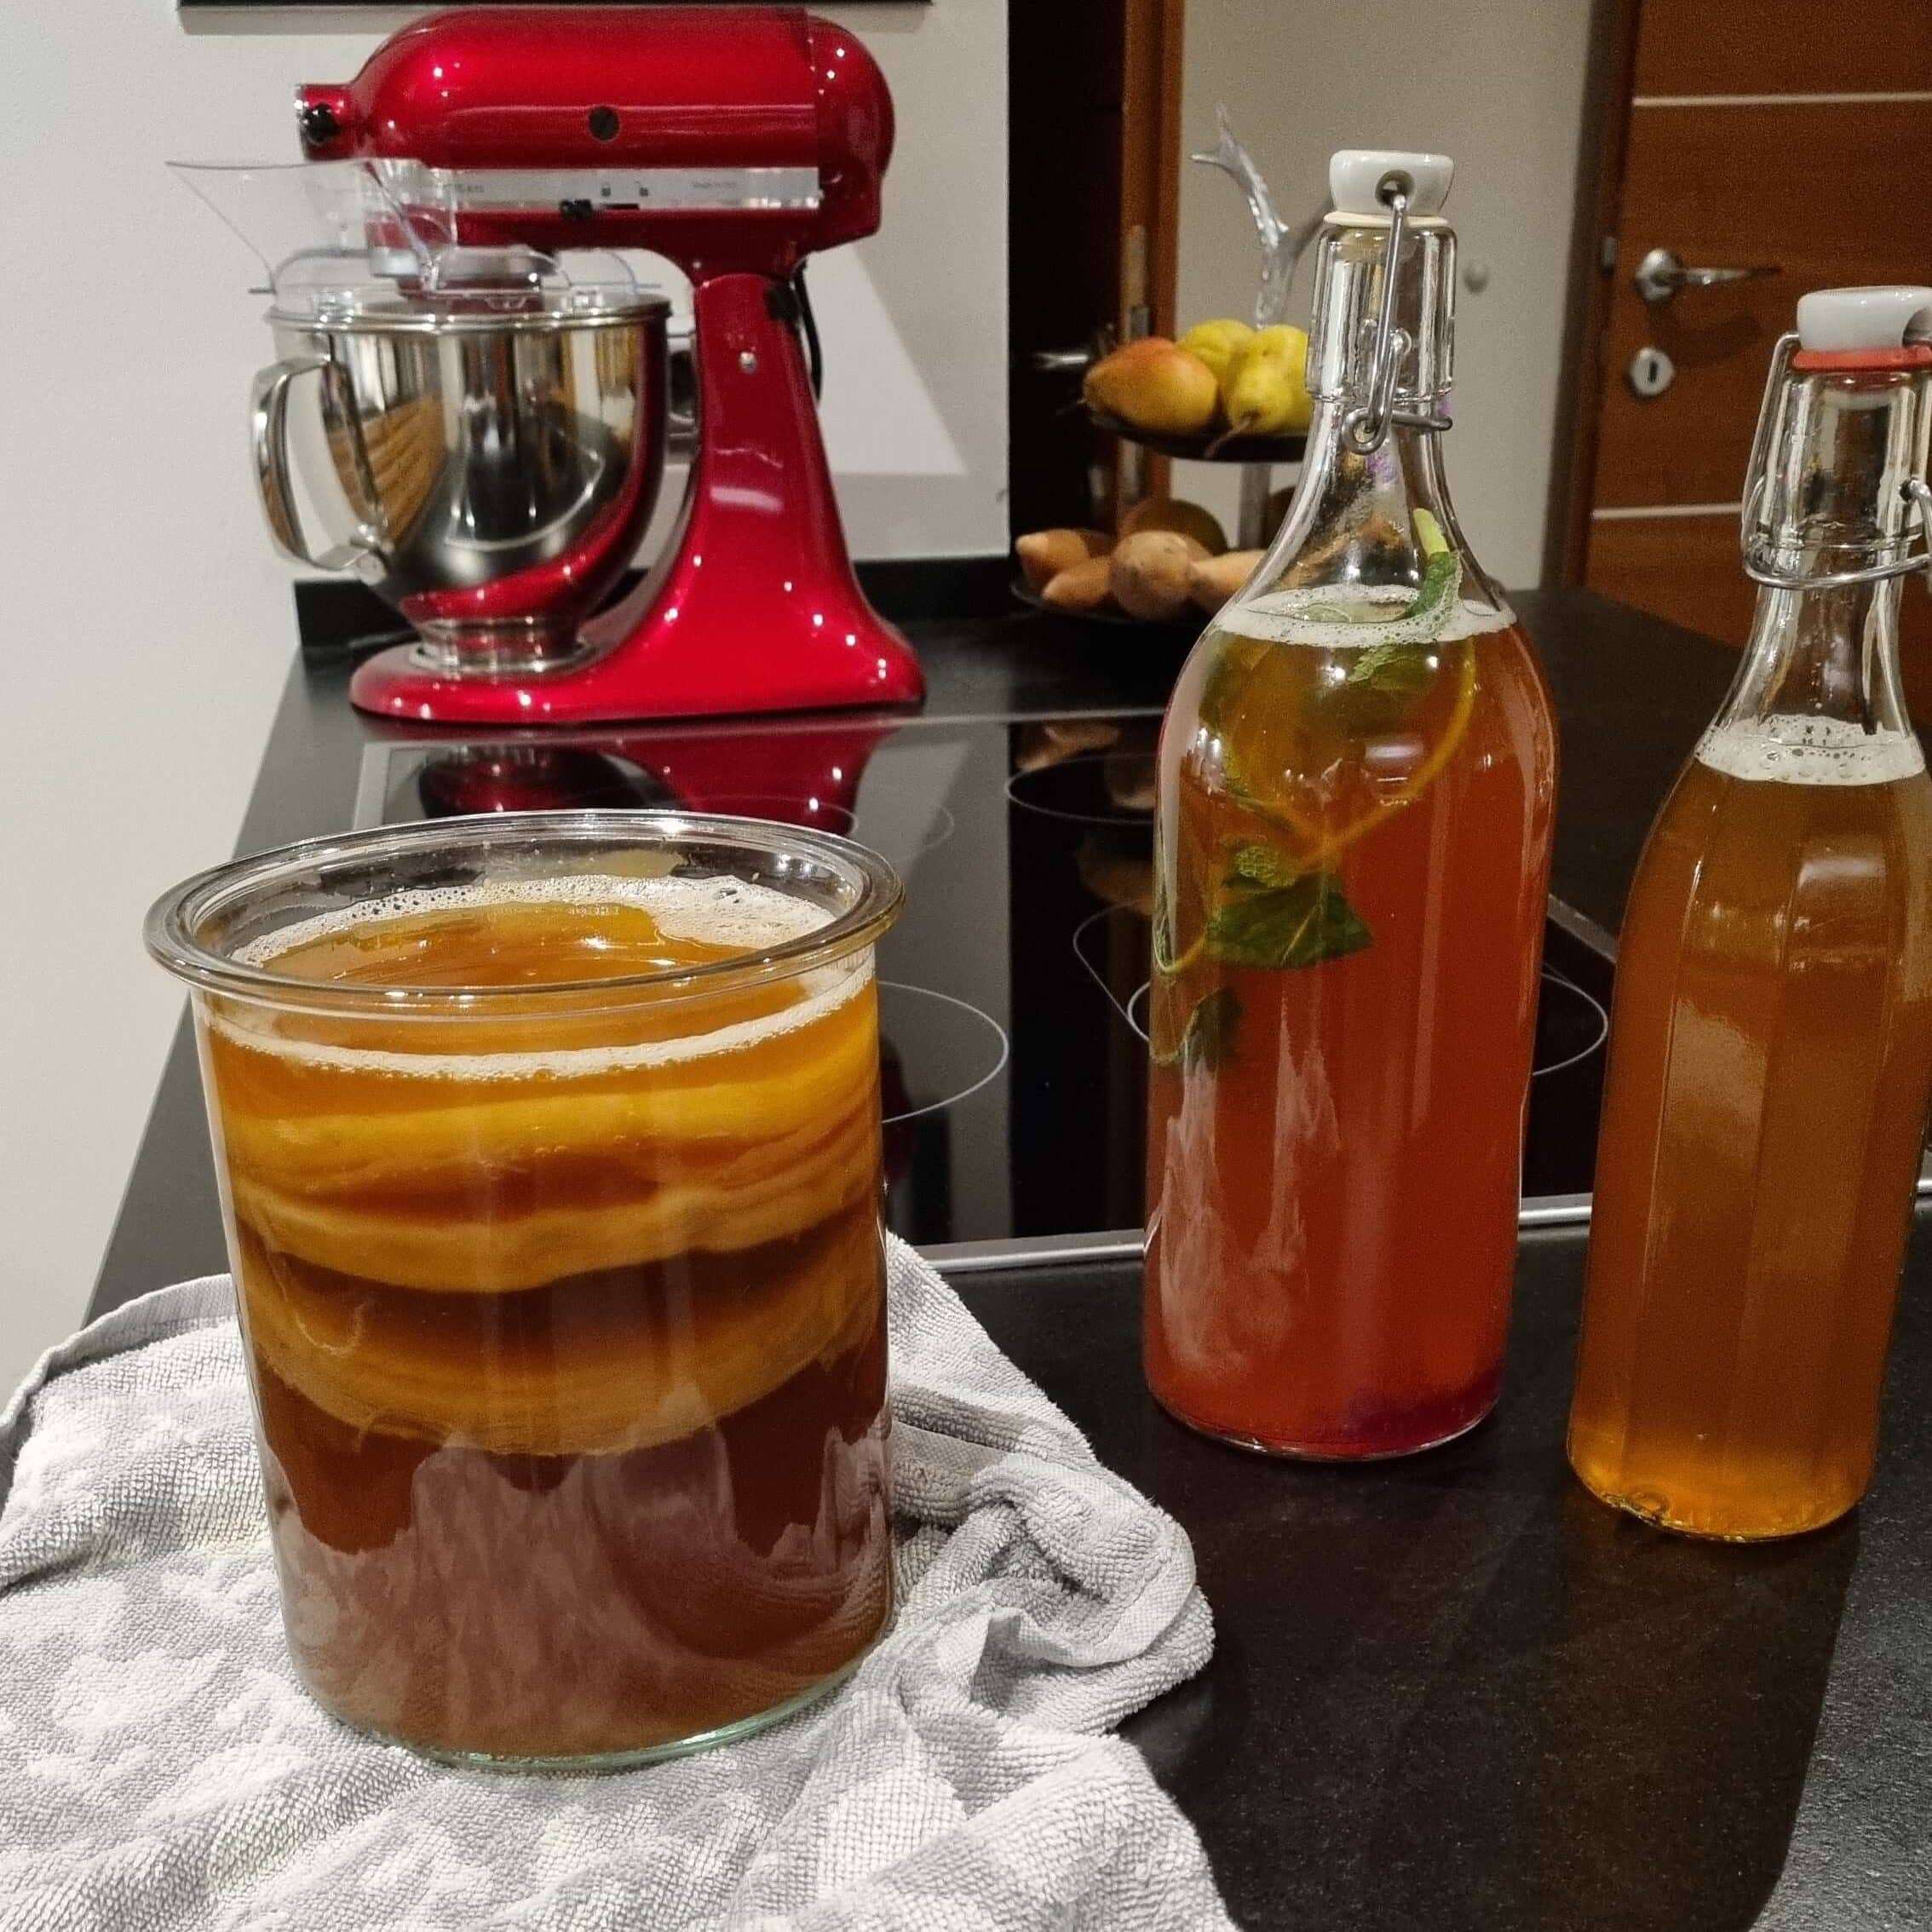
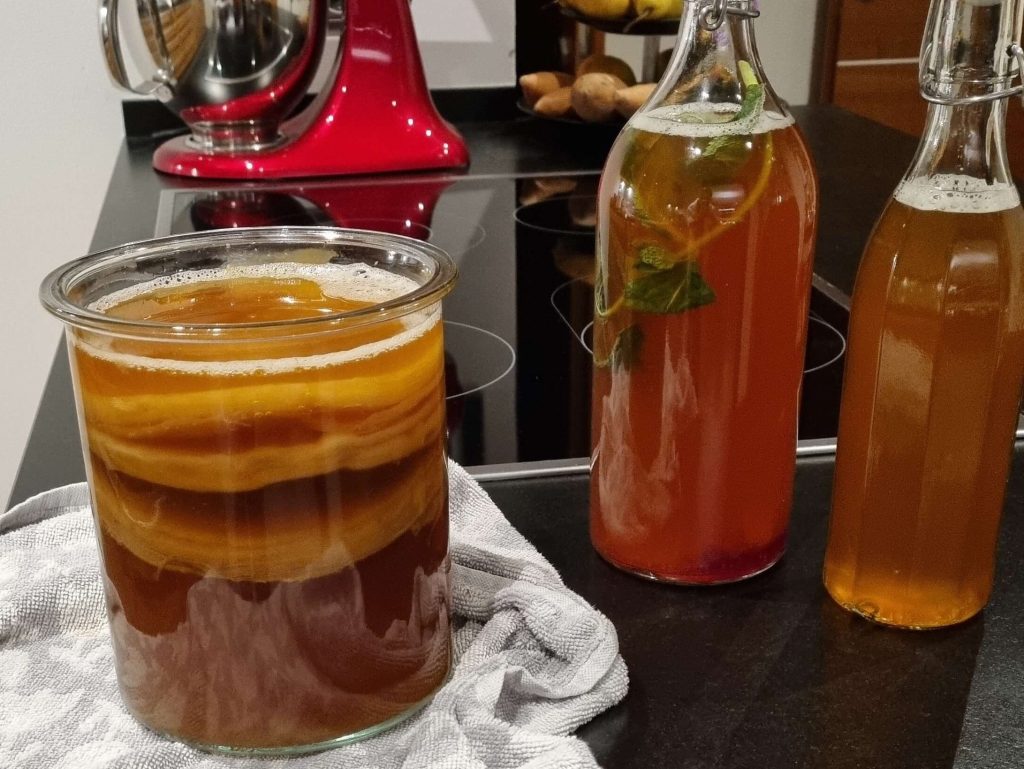
A large glass jar
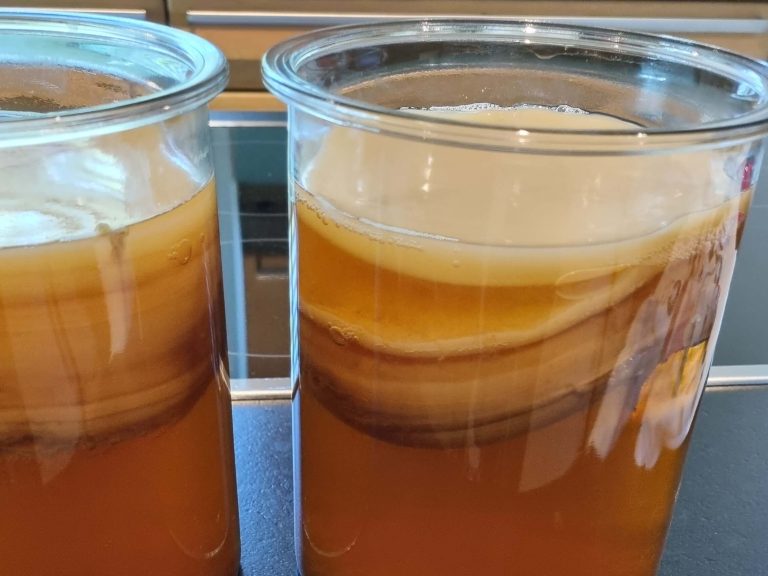
This is the most important piece of equipment and also the simplest. Any large glass jar with a wide mouth works. A 1–2 litre jar is ideal for a first batch.
Wide mouth matters for two reasons: it gives your SCOBY room to grow across the full surface of the liquid, and it allows good airflow through the breathable cover. A narrow-necked bottle restricts both.
Mason jars work perfectly. So do clip-top preserving jars, large pickle jars, or any wide-mouth glass jar you already own. You don’t need a jar with a tap or a ceramic crock. Those are nice-to-haves, not essentials.
What to avoid: Plastic harbours bacteria and absorbs odours over time. The faint smell of whatever was in it before will leach into your kombucha. Metal reacts with the acidic brew. Coloured glass makes it harder to see what’s happening inside. Clear glass is best.
A breathable cover
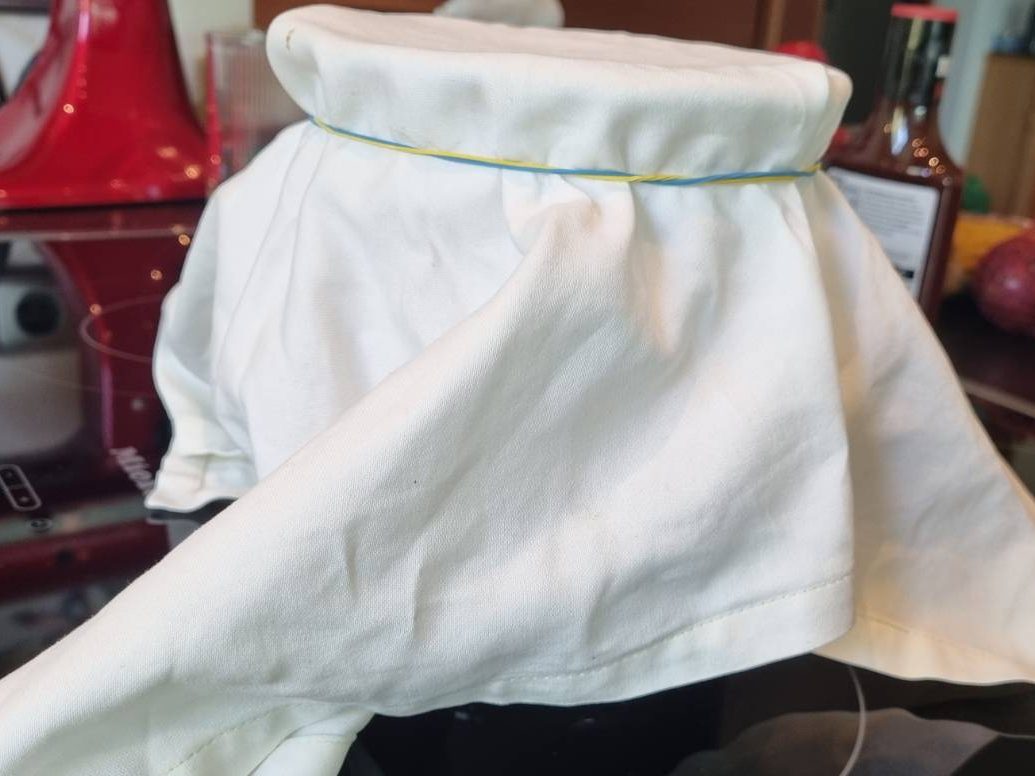
The jar needs to breathe during fermentation because kombucha requires some airflow, but it also needs protection from dust, fruit flies, and anything else that might land in it.
A tightly woven cloth, a coffee filter, or two or three layers of kitchen paper all work perfectly. Secure it over the mouth of the jar with a rubber band.
The key word is tightly woven. Cheesecloth on its own is not tight enough since fruit flies can get through. A tea towel folded once or twice is fine. A coffee filter is ideal.
What to avoid: Sealed lids during first fermentation. The jar needs to breathe. A sealed lid on a fermenting jar builds up CO2 pressure. Save the sealed lids for second fermentation in bottles.
A rubber band
To hold the cover in place. That’s it. Any rubber band that fits around the mouth of your jar.
A large pot
For brewing the sweet tea. Any large kitchen pot works: stainless steel, enamel, ceramic, durable plastic. You’re just boiling water and steeping tea, so there are no special requirements here.
A wooden or plastic spoon
For stirring the sugar into the hot tea. Metal spoons can react with acidic liquid over time, so getting into the habit of using wood or plastic is worth doing from the start. Most kitchens already have both.
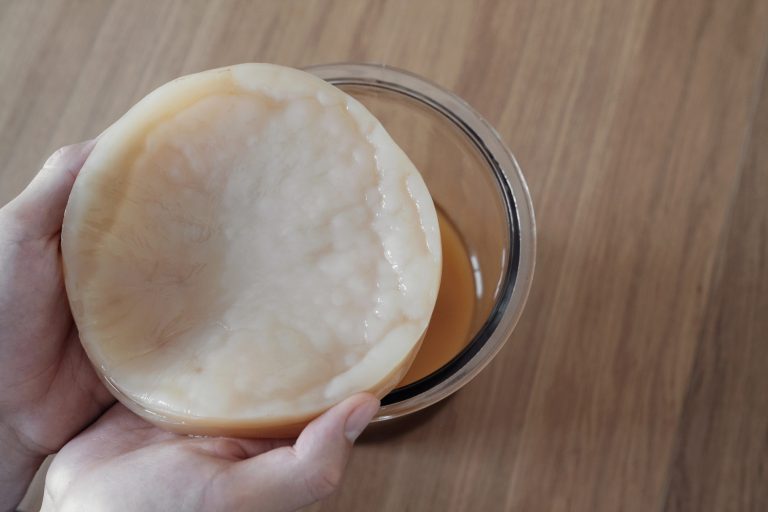
Your SCOBY and starter liquid
Strictly speaking these aren’t equipment, but they’re worth mentioning here: you need a SCOBY and at least 100–200ml of starter liquid (already-fermented kombucha) before you can brew. Read my guide to SCOBYs for how to get one and what to look for.
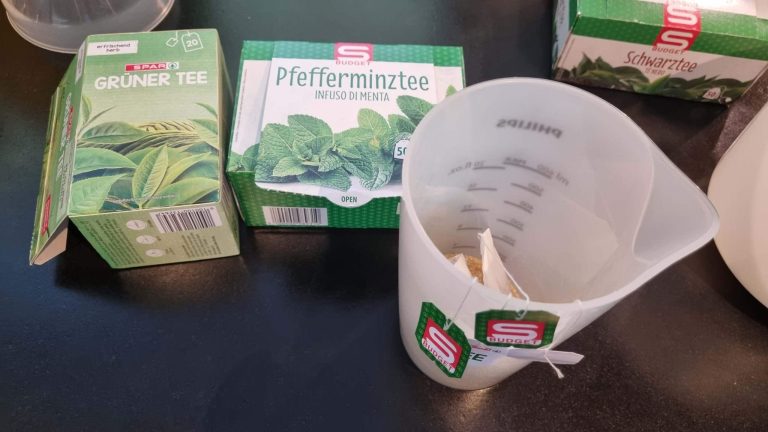
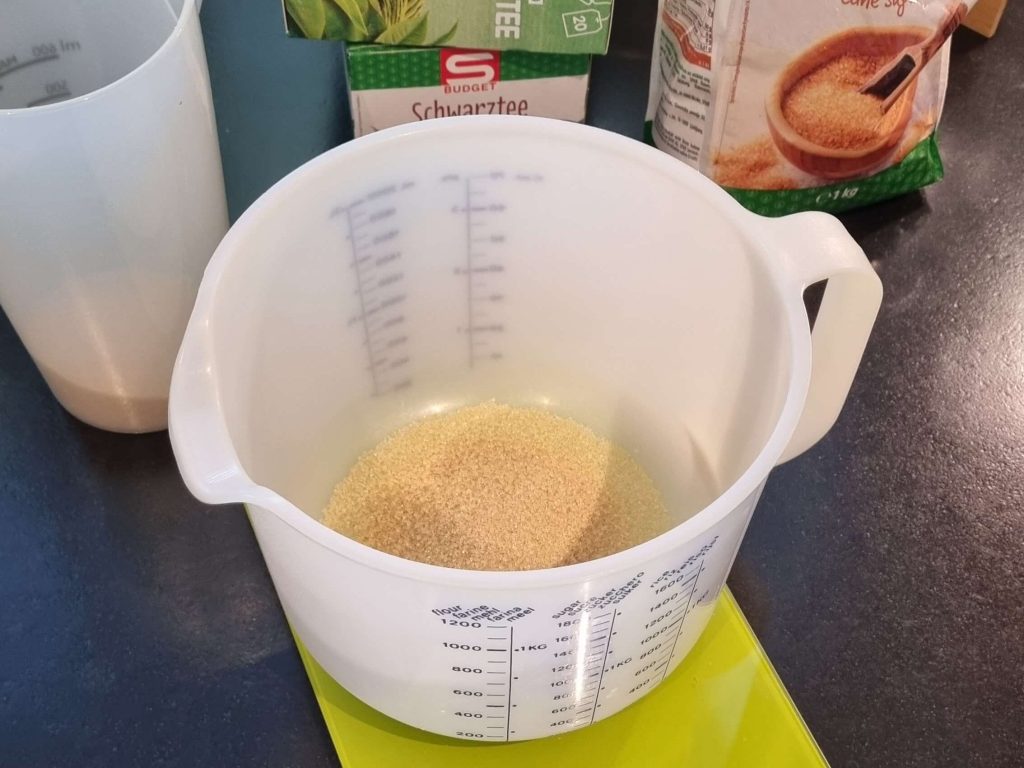
Black or green tea
Plain, unflavoured tea bags or loose leaf. Black tea is the most reliable choice for beginners. The tannins and nitrogen content support the SCOBY culture. Green tea also works but produces a lighter, more delicate result. Avoid herbal teas, fruit teas, and anything with added oils or flavourings as these can damage the culture over time.
White sugar
Plain granulated white sugar. The SCOBY’s bacteria and yeast are well adapted to processing sucrose and it ferments predictably every time. Don’t substitute honey (it has antibacterial properties that can interfere with the culture), coconut sugar (ferments unpredictably), or sweeteners (the SCOBY can’t process them).
Once you have several batches of experience you can experiment with different sugars in the first fermentation. For now, white sugar is the right call.
Filtered or dechlorinated water
Chlorine in tap water inhibits the bacteria in your SCOBY. The solution is simple: either filter your tap water or leave it uncovered in a jug overnight before using it. The chlorine dissipates on its own within a few hours.
Helpful But Not Essential
These are things worth having eventually but not worth buying before your first batch.
A thermometer
Useful for two things: confirming your sweet tea has cooled below 30°C before adding the SCOBY (hot liquid kills the culture), and monitoring your fermentation environment to make sure it stays between 21°C and 27°C.
A basic digital kitchen thermometer is all you need. If you’re patient and careful about letting your tea cool fully (usually 1–2 hours at room temperature) you can manage without one. For a few euros it removes any uncertainty though, and I’d recommend getting one eventually.
Glass bottles with airtight lids
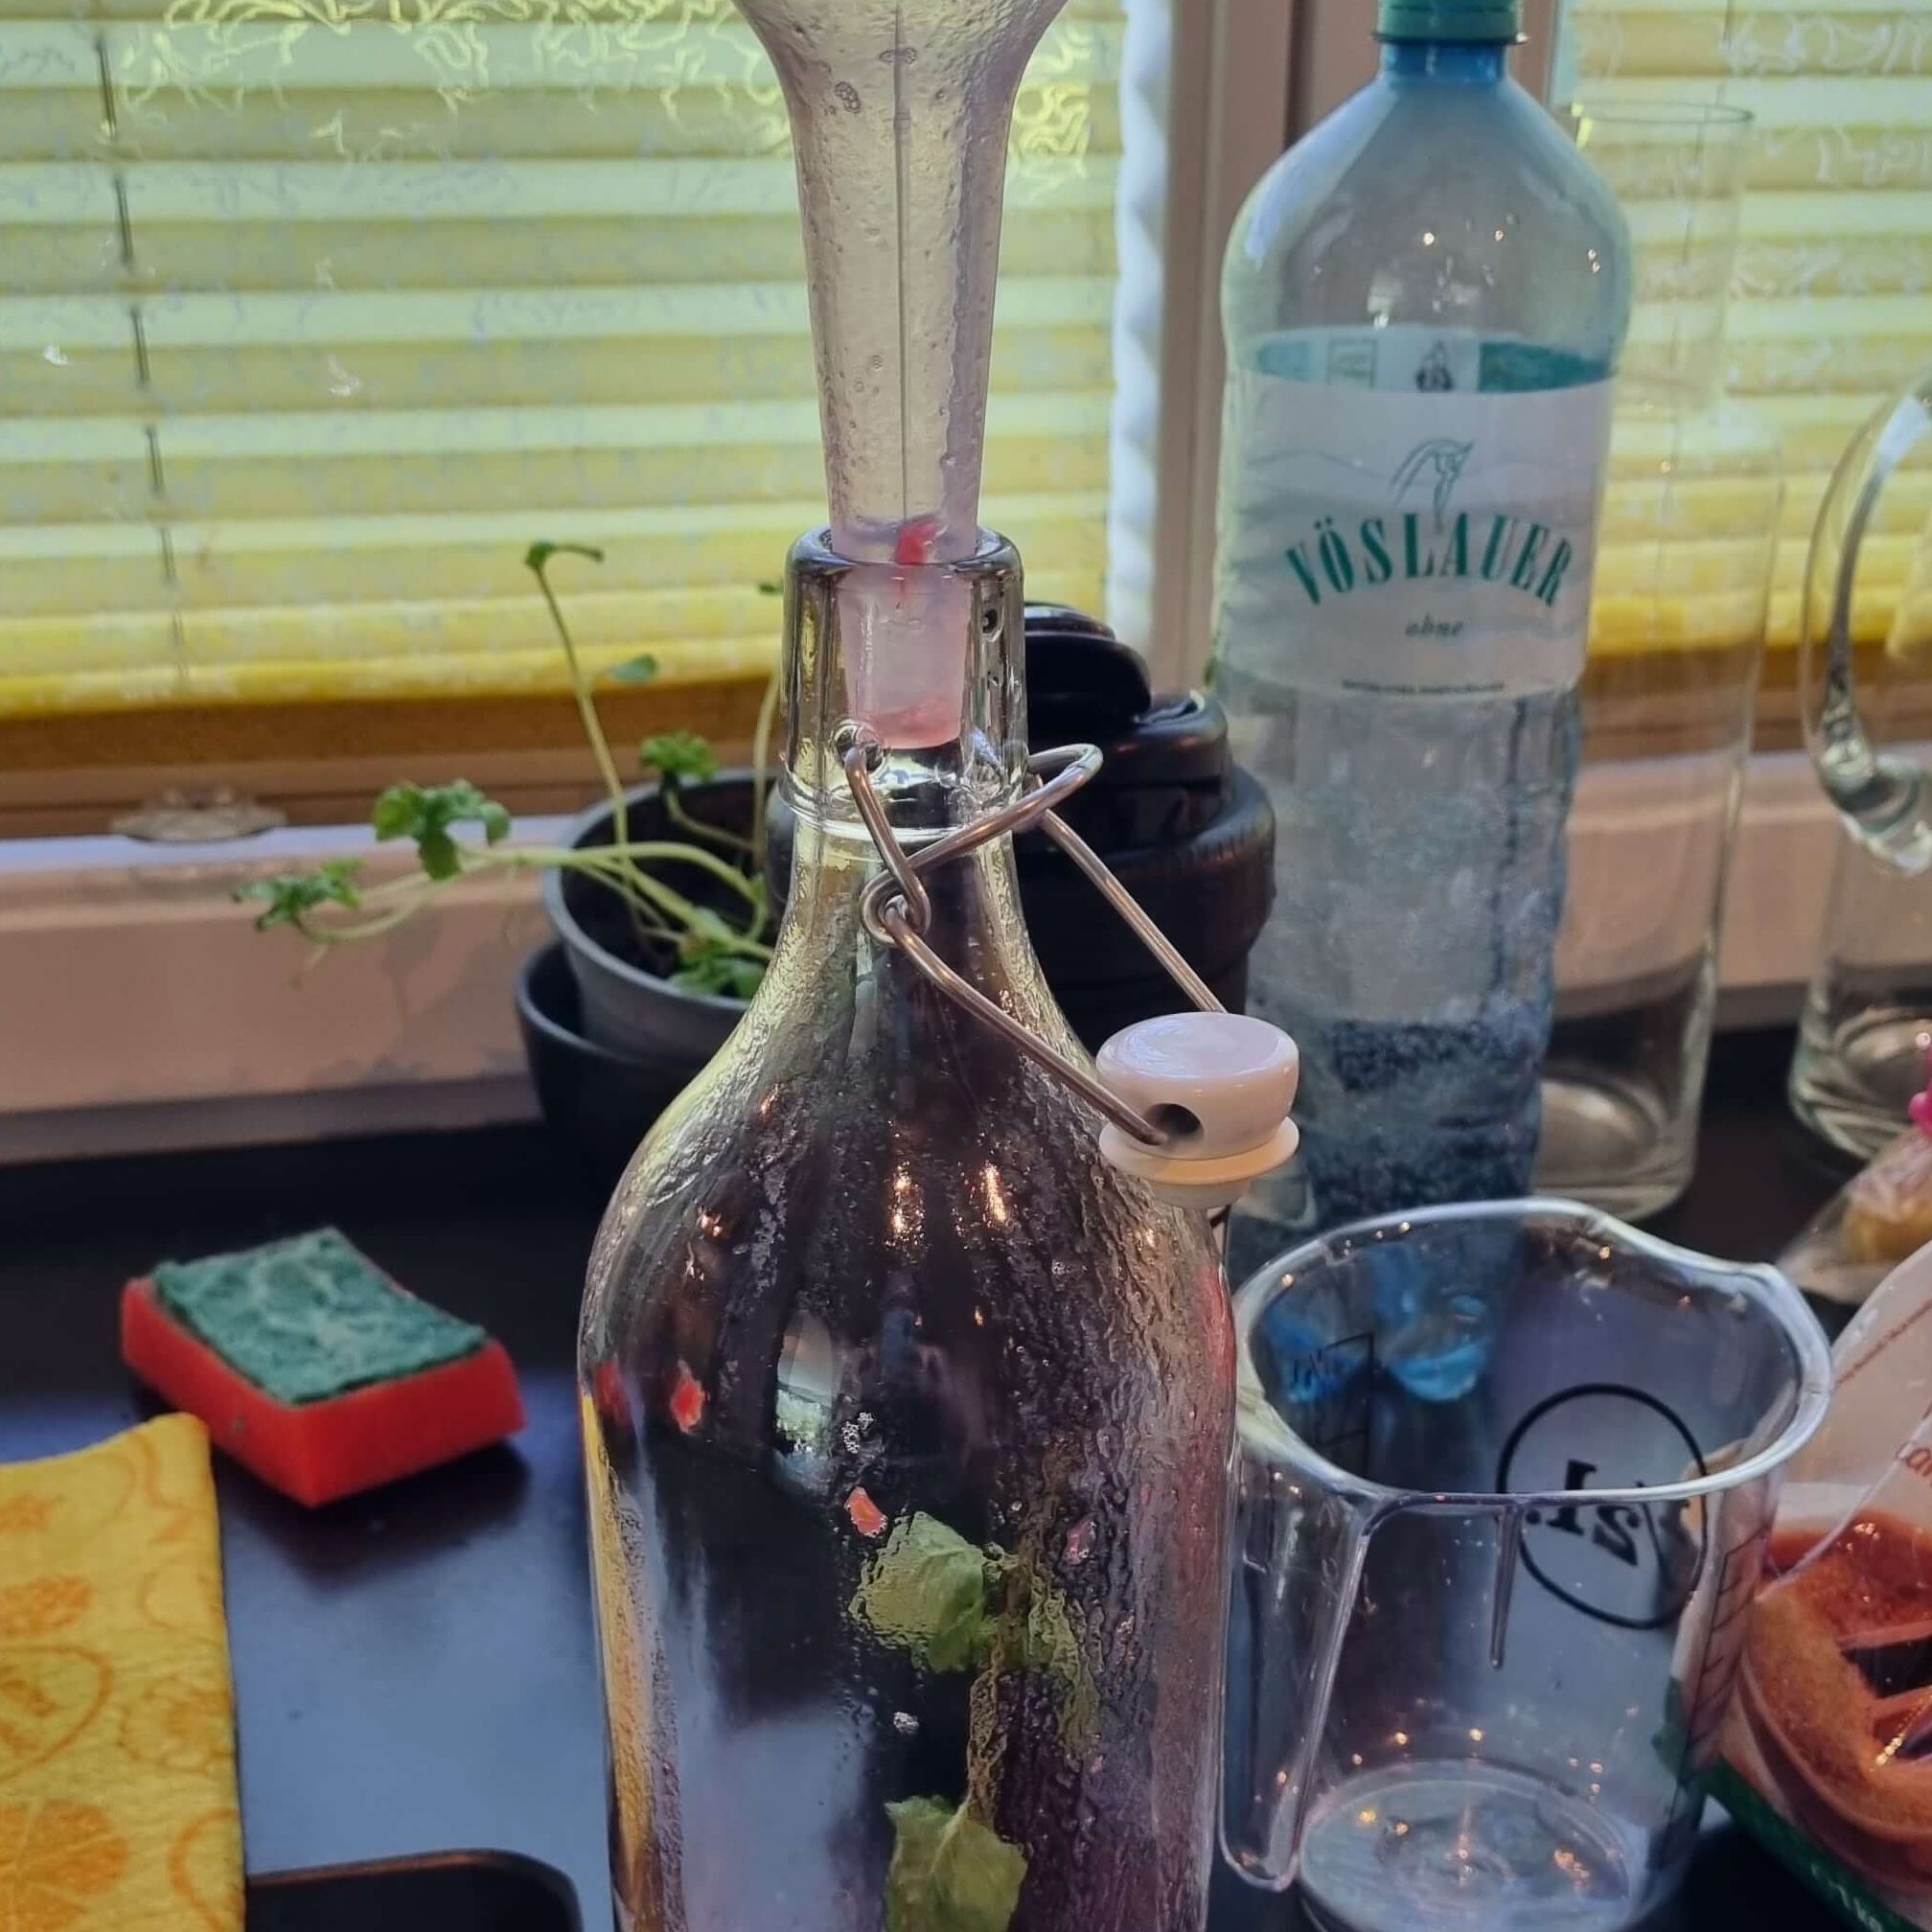
You’ll want these for second fermentation: the stage where you add fruit or juice to your finished kombucha, seal it tight, and leave it at room temperature for a few days to build carbonation.
Flip-top bottles (often called Grolsch-style or bail-top bottles) are ideal. They seal tightly, handle carbonation pressure well, and are reusable indefinitely. 500ml is a good size to start with.
You don’t need these for your first batch since you can drink the first ferment straight from the jar. But once you want fizzy, flavoured kombucha they’re essential. Avoid thin glass bottles not designed for carbonated drinks as they can crack under pressure.
pH strips
Finished kombucha should sit between pH 2.5 and 3.5 (Jayabalan et al., 2014). pH strips let you verify this and give you an objective measure of whether your batch has fermented properly.
That said, your palate is a perfectly good pH meter. If the kombucha tastes tangy and balanced rather than sweet or vinegary, it’s done. pH strips are reassuring for beginners who aren’t sure what to expect, but they’re not essential.
A funnel
Makes transferring kombucha from the brewing jar into bottles much easier and significantly less messy. Any kitchen funnel works. Not strictly necessary but genuinely useful.
A fine mesh strainer
For straining out yeast strands before bottling if you prefer a cleaner result. A standard kitchen strainer or a nut milk bag both work. Yeast strands are harmless but some people prefer not to see them in the finished drink.
What You Don’t Need
These come up regularly in starter kit marketing and are either unnecessary or actively unhelpful for home brewing.
A kombucha-specific jar with a tap
Continuous brew systems with a tap are used by people who brew large volumes regularly and want to draw off kombucha without disturbing the SCOBY. For a beginner brewing 1–2 litres per batch, they add complexity and cost without benefit. A plain jar is better to start with.
A digital pH meter
More accurate than strips but significantly more expensive, requires calibration, and the calibration solution needs replacing regularly. Strips do the job perfectly well for home brewing purposes.
A heating mat
Useful in cold kitchens in winter but unnecessary if your kitchen stays above 20°C. If you’re brewing in a cold environment and fermentation is consistently slow, a mat designed for fermentation or seedling propagation can help. Try finding a warmer spot first though.
Cheesecloth as a cover
Marketed as the traditional kombucha cover but the weave is too loose and fruit flies can get through. A tightly woven cloth or coffee filter is better in every way.
Kombucha starter kits
These typically bundle a jar, some cloth, tea, sugar, and sometimes a SCOBY together at a significant markup. The individual components are cheaper bought separately, and you probably already have most of them. The one exception is if the kit includes a quality SCOBY with good starter liquid. That part does matter. Read my guide to SCOBYs before you buy, it covers exactly what to look for and where to get one. Buy the SCOBY separately though, and use your own jar.
What I Actually Use
Since we’re being honest about equipment, here’s what I brew with regularly.
For the first fermentation I use large glass storage jars: the kind sold for dry goods. I have several on the go at once now, which means I always have kombucha at different stages. Having several jars going at the same time is often easier too. You can brew and bottle in batches rather than waiting for a single jar to be ready.
For second fermentation I use a mix of 500ml and 1-litre bottles depending on the batch size. I have eight of them, which is more than enough for a 1-litre first ferment.
I have a basic digital thermometer that I use occasionally when trying a new tea or sugar combination. I use pH strips rarely, mostly when I’m curious rather than uncertain.
Everything else I own is standard kitchen equipment that was already in the house before I started brewing.
The Shopping List
If you’re starting from scratch and need to buy everything, here’s the short version:
Must buy:
- Large wide-mouth glass jar (1–2 litre) — if you don’t already own one
- Rubber bands
- SCOBY with starter liquid
Already in most kitchens:
- Large pot
- Wooden or plastic spoon
- Tea towel or coffee filters
- Black tea bags
- White sugar
Buy when ready for second fermentation:
- Flip-top glass bottles (500ml, 4–6 to start)
Buy eventually if you want them:
That’s the whole list. The total cost of the essentials you need to buy (assuming you already own a pot, a spoon, tea, and sugar) is the price of a glass jar and a SCOBY. Everything else can wait.
Frequently Asked Question
Can I brew kombucha in plastic?
It’s not recommended. Plastic harbours bacteria over time, can absorb odours from previous contents, and may leach compounds into an acidic brew. Glass is always the better choice.
Can I use a metal pot to brew kombucha?
Yes for brewing the sweet tea — brief contact with stainless steel during the boiling and steeping stage is fine. Avoid storing or fermenting kombucha in metal containers since prolonged contact with acidic liquid can cause reactions.
Do I need to sterilise my equipment?
Thorough cleaning with hot water is sufficient for most home brewing. A rinse with white wine vinegar adds extra protection. Avoid soap residue as it can harm the SCOBY culture.
How many bottles do I need for second fermentation?
For a standard 1-litre first ferment, 2 x 500ml flip-top bottles is enough to start. Most brewers build up to 6–12 bottles over time as they increase batch sizes.
One Last Thing
The most common equipment-related mistake I see beginners make isn’t buying the wrong thing. It’s spending so much time researching equipment that they delay actually starting.
You don’t need the perfect setup. You need a jar, a SCOBY, some tea, some sugar, and a rubber band. Everything else you can figure out as you go.
Go brew something.
Ready to start? My complete beginner’s guide to brewing kombucha at home walks you through the whole process step by step.
Sources
Jayabalan, R., Malbaša, R. V., Lončar, E. S., Vitas, J. S., & Sathishkumar, M. (2014). A review on kombucha tea — microbiology, composition, fermentation, beneficial effects, toxicity, and tea fungus. Comprehensive Reviews in Food Science and Food Safety, 13(4), 538–550. https://doi.org/10.1111/1541-4337.12072
Crum, H., & LaGory, A. (2016). The big book of kombucha. Storey Publishing.