
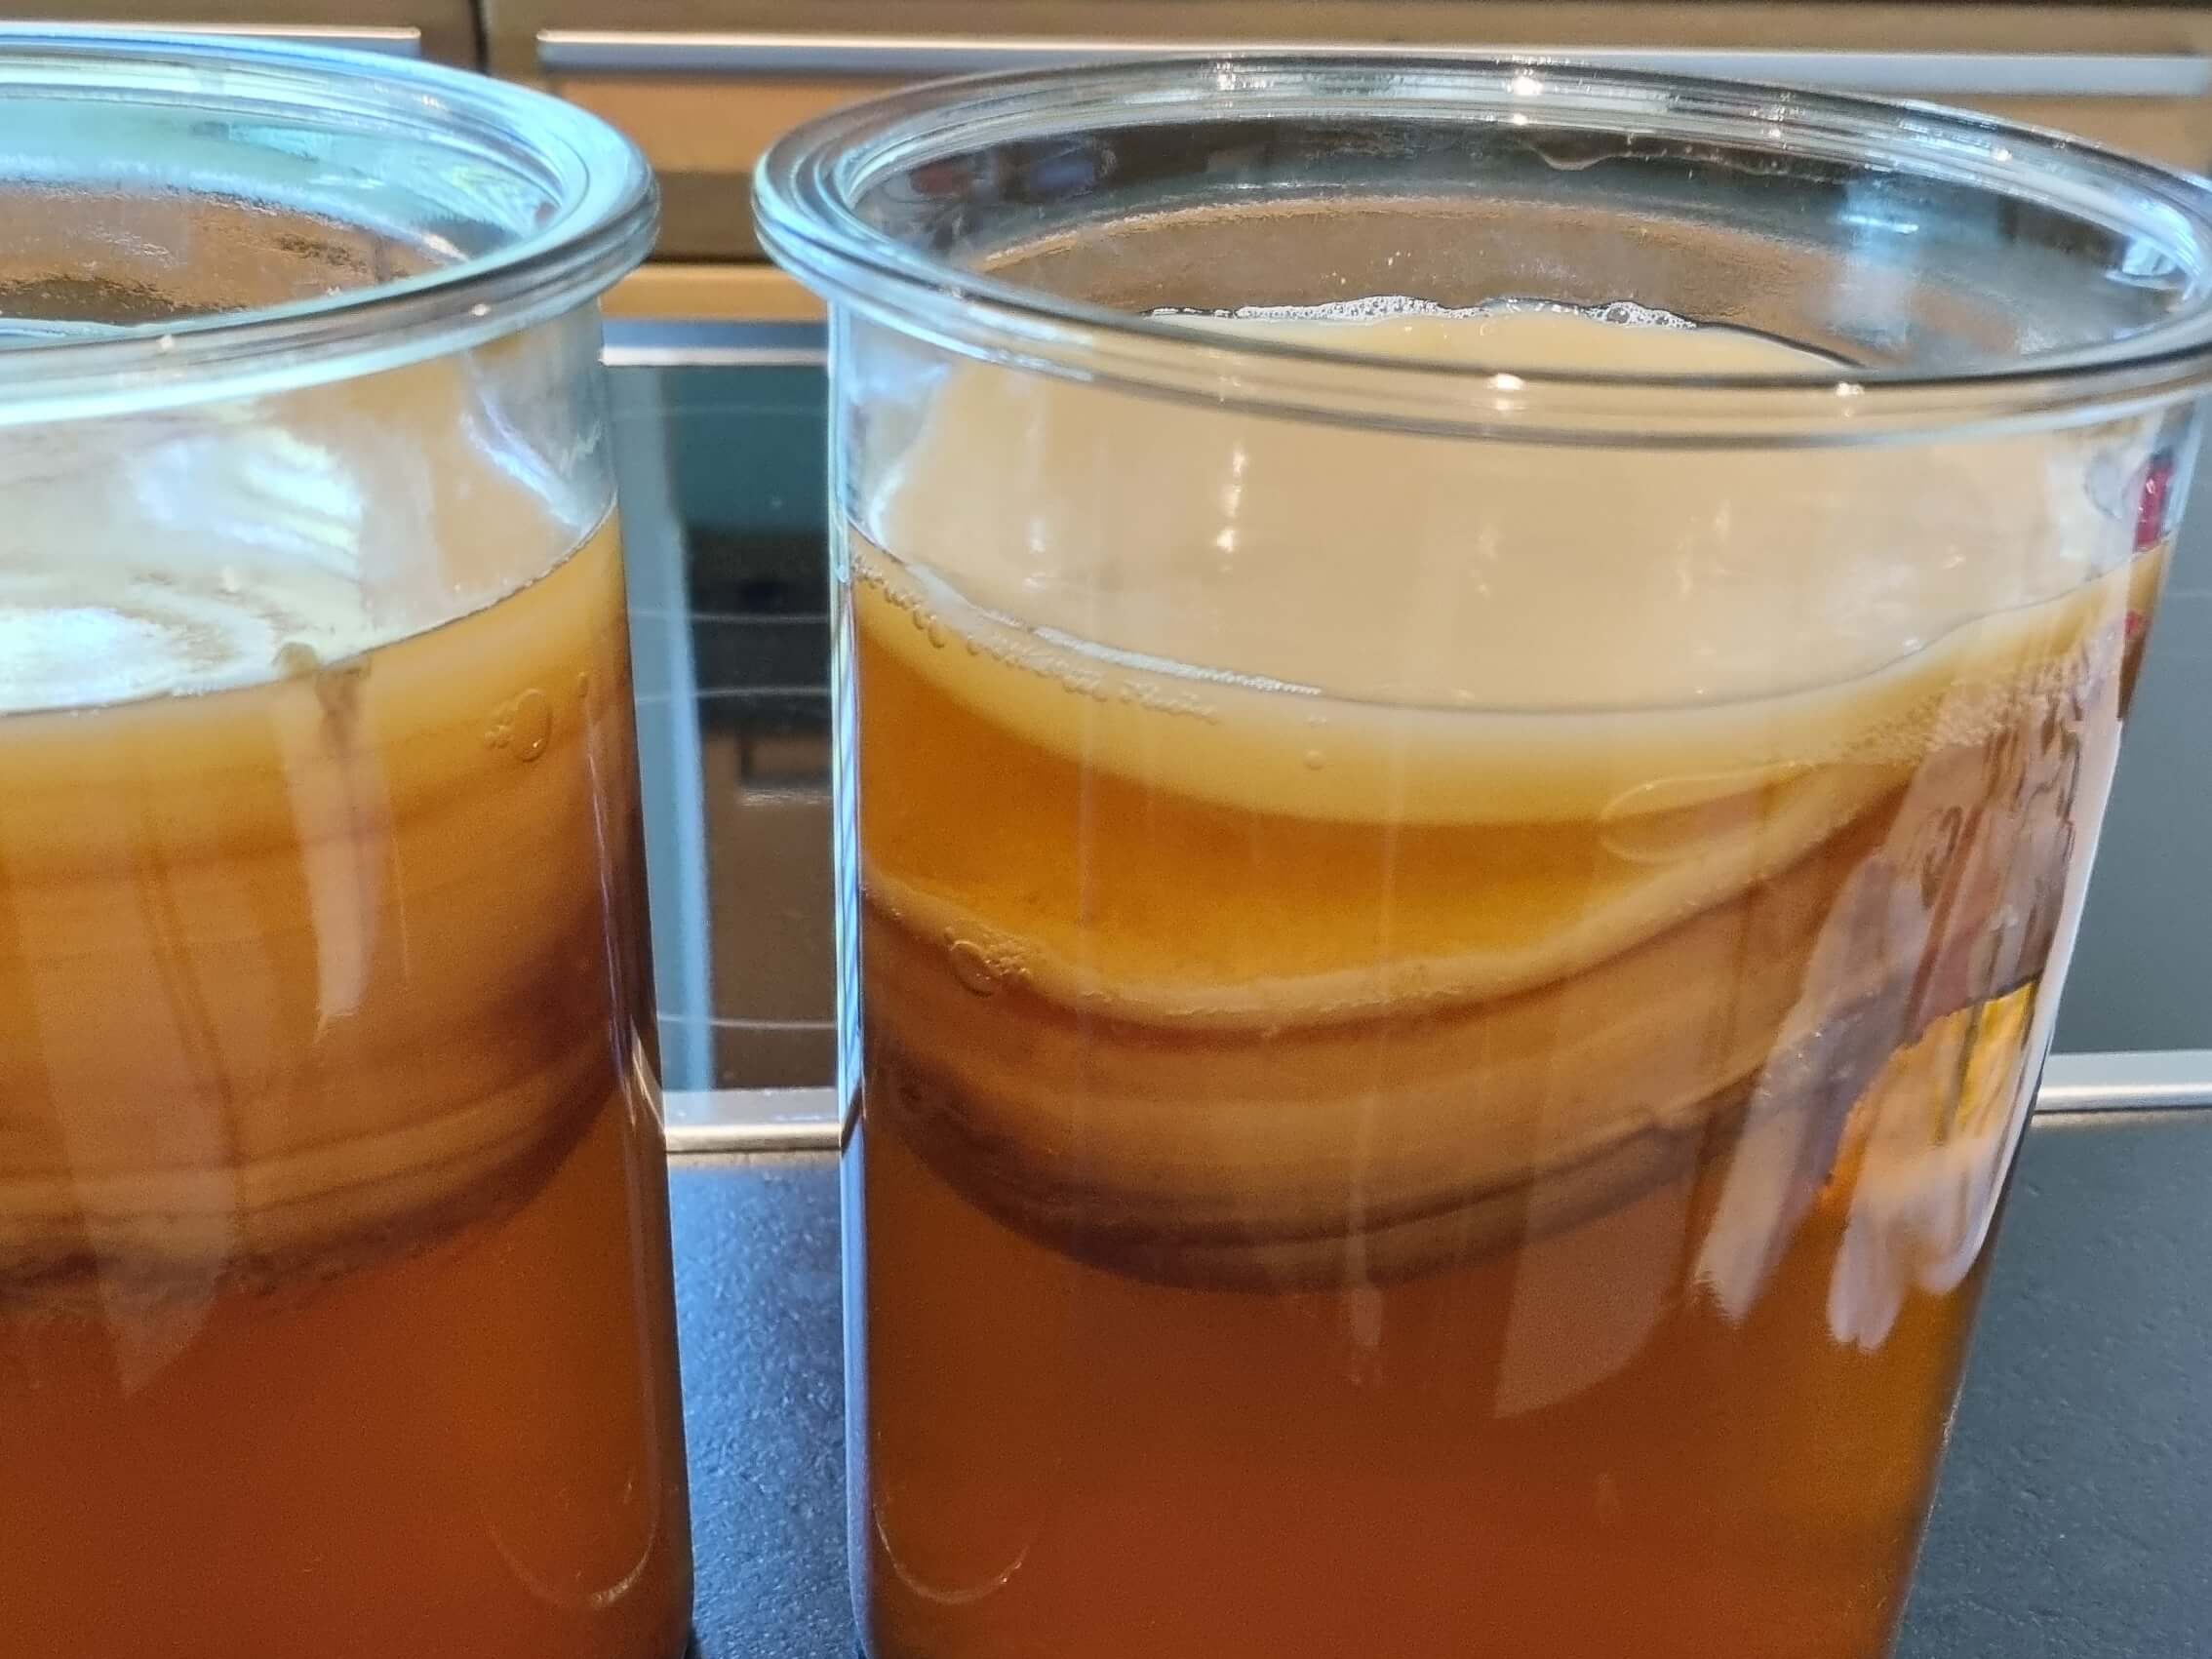
How to Brew Kombucha at Home for Beginners (And What to Do When It Goes Wrong)
So you want to brew your own kombucha at home.
Maybe you’ve been buying it at €4 a bottle and quietly doing the maths. Maybe a friend handed you a SCOBY in a jar, and you have no idea what to do with it. Maybe you’ve just always been curious about how fermentation actually works.
I’ve been brewing kombucha at home for some years now. My first batch got mouldy. My second tasted like vinegar. Somewhere around batch four, I figured out what I was doing, and I haven’t bought a bottle since (okay, I have bought a few).
This guide covers everything: what kombucha is, what equipment you actually need, how to brew your first batch step by step, how to look after your SCOBY, second fermentation, building a SCOBY hotel, and what to do when things go wrong. Bookmark it and come back to it.
1. What Is Kombucha?
Kombucha is fermented sweet tea. That’s the whole thing.
You brew strong, sweetened tea, add a live culture and some already-fermented kombucha, and leave it at room temperature from seven days to two weeks. The bacteria and yeast in the culture consume most of the sugar and produce organic acids, primarily acetic and gluconic acid, which give kombucha its tangy taste and gentle fizz (Jayabalan et al., 2014).
The result is low in residual sugar, contains live bacteria, and costs a fraction of shop-bought kombucha to make at home.
Does kombucha contain alcohol?
Yes, in small amounts. Most home brews sit between 0.5% and 1.5% ABV, similar to a very ripe fruit juice. Longer fermentation or a vigorous second ferment can push this slightly higher.
Does it actually have health benefits?
Honestly, the research is promising but still catching up with the hype. We know kombucha contains live bacteria, organic acids, and antioxidants from the tea. A 2019 systematic review found some evidence for health benefits but noted the human studies are limited (Kapp & Sumner, 2019). Brew it because you enjoy it. Anything else is a bonus.
2. What Is a SCOBY and Where Do You Get One?
SCOBY stands for Symbiotic Culture of Bacteria and Yeast. It looks like a pale, rubbery disc somewhere between a thick pancake and a jellyfish, and it floats on the surface of your brew. Research has shown it contains a complex community of bacteria and yeast working together to drive fermentation (Villarreal-Soto et al., 2018)
Alongside the SCOBY, you need starter liquid, which is already-fermented kombucha. The starter liquid acidifies the sweet tea immediately, which stops unwanted bacteria from taking hold before your culture gets going. The two work as a pair. Never start a batch with one but not the other.
Read my full guide on what a SCOBY is and how to look after it.
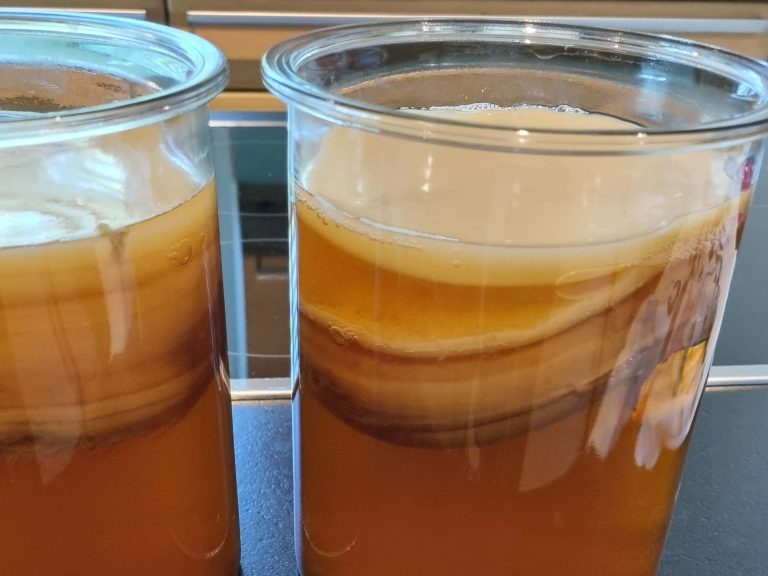
Where to get a SCOBY
From a friend or fellow brewer. SCOBYs grow a new layer with every batch, so anyone who brews regularly has extras. Ask around before spending money, the kombucha community gives them away constantly. That’s how I got my first scoby.
From an online seller. Many small producers sell SCOBYs online, usually packed in starter liquid. Make sure yours comes with at least 100ml of liquid.
From a health food shop. Some specialist shops stock live SCOBYs. Call ahead before making a trip.
Grown from a shop-bought bottle. Buy a raw, unflavoured, unpasteurised bottle of kombucha. Pour it into a clean jar, cover with a cloth, and leave it at room temperature for two to four weeks. A thin SCOBY will form on the surface. It takes a few batches to build strength, but it works. A good sign of the bought bottle is a small scoby swimming at the top already!
3. What Equipment Do You Need?
Less than you think. Seriously, don’t let anyone sell you a starter kit before you’ve read this.
The essentials
A large glass jar. A 1–2 litre wide-mouth jar works well for a first batch. Wide-mouth matters because it gives your SCOBY room to grow and allows good airflow. Mason jars and clip-top preserving jars are both fine. Skip plastic (it harbours bacteria and absorbs odours over time) and anything metal (it reacts with the acidic brew).
A breathable cover. The jar needs to breathe during fermentation, but it also needs protecting from dust and fruit flies. A tightly woven cloth, a coffee filter, or a couple of layers of kitchen paper all do the job. Hold it in place with a rubber band.
A large pot. For brewing the sweet tea. Any kitchen pot works.
A wooden or plastic spoon. For stirring. Metal spoons can react with acidic liquid over time, so get into the habit of avoiding them.
Your SCOBY and starter liquid. Minimum 100ml of starter liquid, ideally closer to 200ml. More is always better at the start.
Black or green tea. Plain, unflavoured tea bags or loose leaf. Black tea is the most reliable choice for beginners, the nitrogen content supports the culture. Green tea works too, but produces a lighter, more delicate brew. Avoid any