
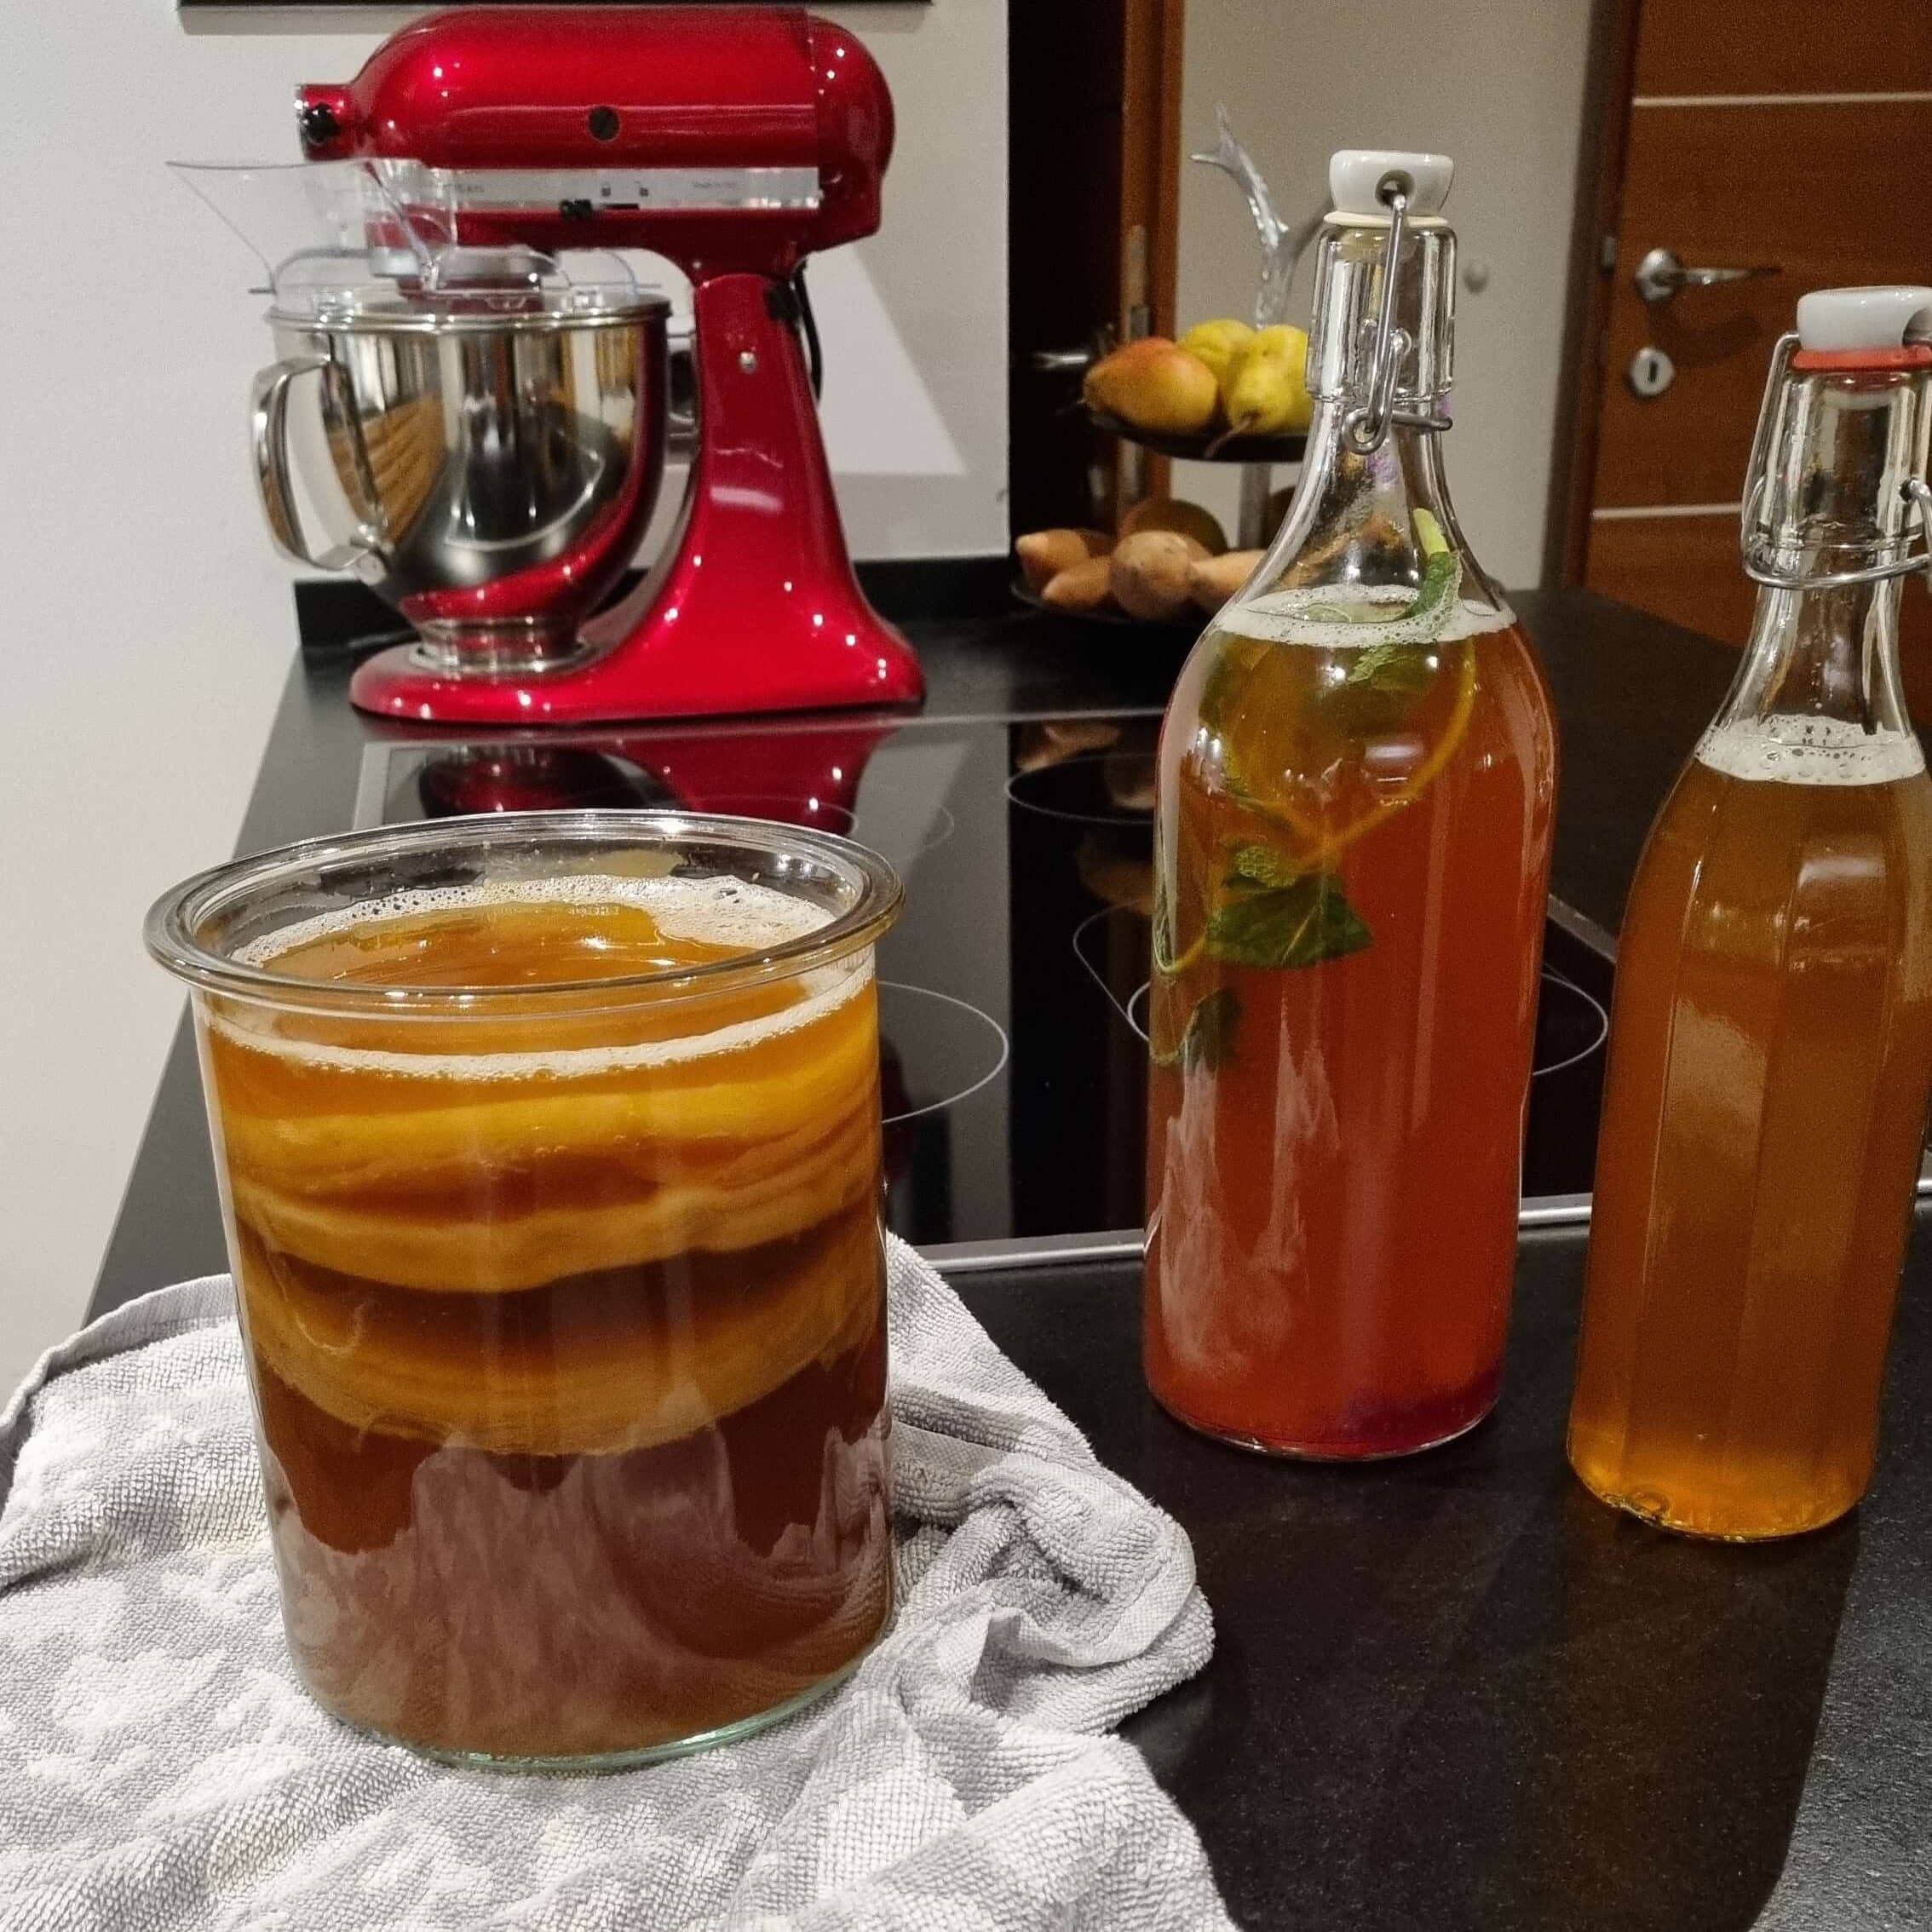
The Only Kombucha Brewing Equipment You Need to Start (No Starter Kit Required)
This post contains affiliate links. If you buy something through a link I may earn a small commission at no extra cost to you.
Before I brewed my first batch of kombucha I spent about two hours reading about starter kits online. There were ceramic crocks, wooden taps, pH meter bundles, special cloth covers, temperature strips, and various jars with “kombucha” printed on the side in nice fonts.
I didn’t buy any of it. I used a large glass jar I already owned, a piece of old tea towel, and a rubber band.
That batch turned out fine.
This post is the equipment guide I wish someone had handed me before I started. It covers exactly what you need, what you absolutely don’t need, and what’s genuinely useful once you’ve got a few batches under your belt.
If you want the full brewing process from start to finish, read my complete beginner’s guide to brewing kombucha at home. This post is the equipment section expanded into its own guide.
The Essentials — What You Actually Need
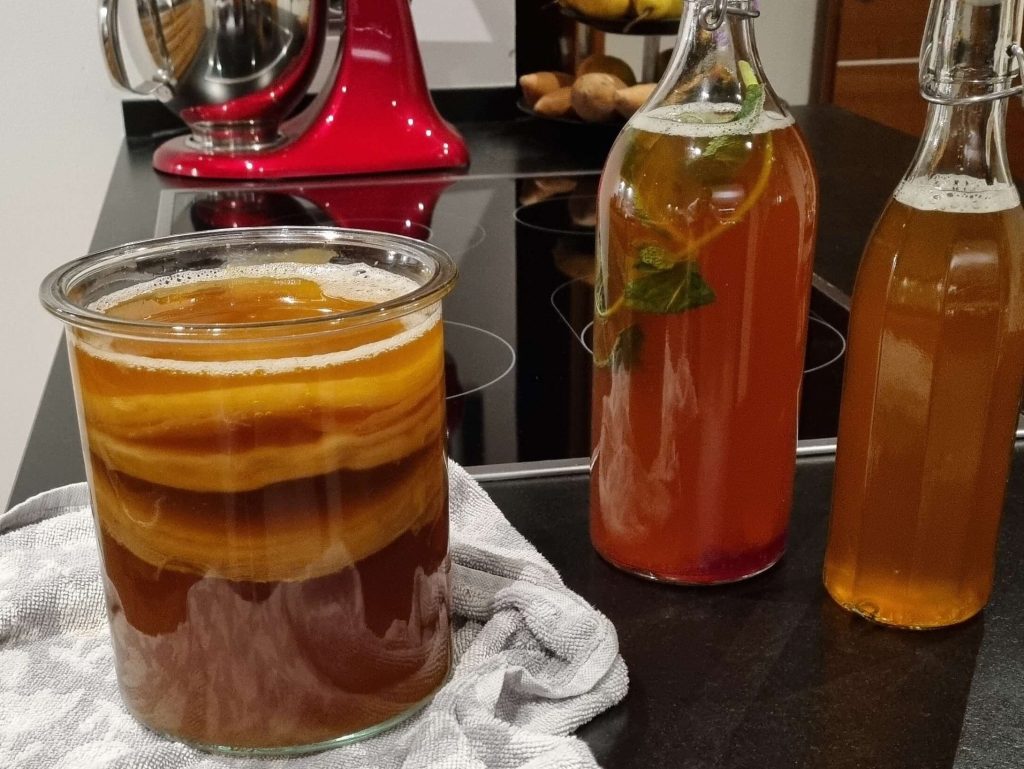
These are the things you cannot brew without. Everything else is optional.
A large glass jar
This is the most important piece of equipment and also the simplest. Any large glass jar with a wide mouth works. A 1–2 litre jar is ideal for a first batch.
Wide mouth matters for two reasons: it gives your SCOBY room to grow across the full surface of the liquid, and it allows good airflow through the breathable cover. A narrow-necked bottle restricts both.
Mason jars work perfectly. So do clip-top preserving jars, large pickle jars, or any wide-mouth glass jar you already own. You don’t need a jar with a tap or a ceramic crock. Those are nice-to-haves, not essentials.
What to avoid: Plastic harbours bacteria and absorbs odours over time. The faint smell of whatever was in it before will leach into your kombucha. Metal reacts with the acidic brew. Coloured glass makes it harder to see what’s happening inside. Clear glass is best.
A breathable cover
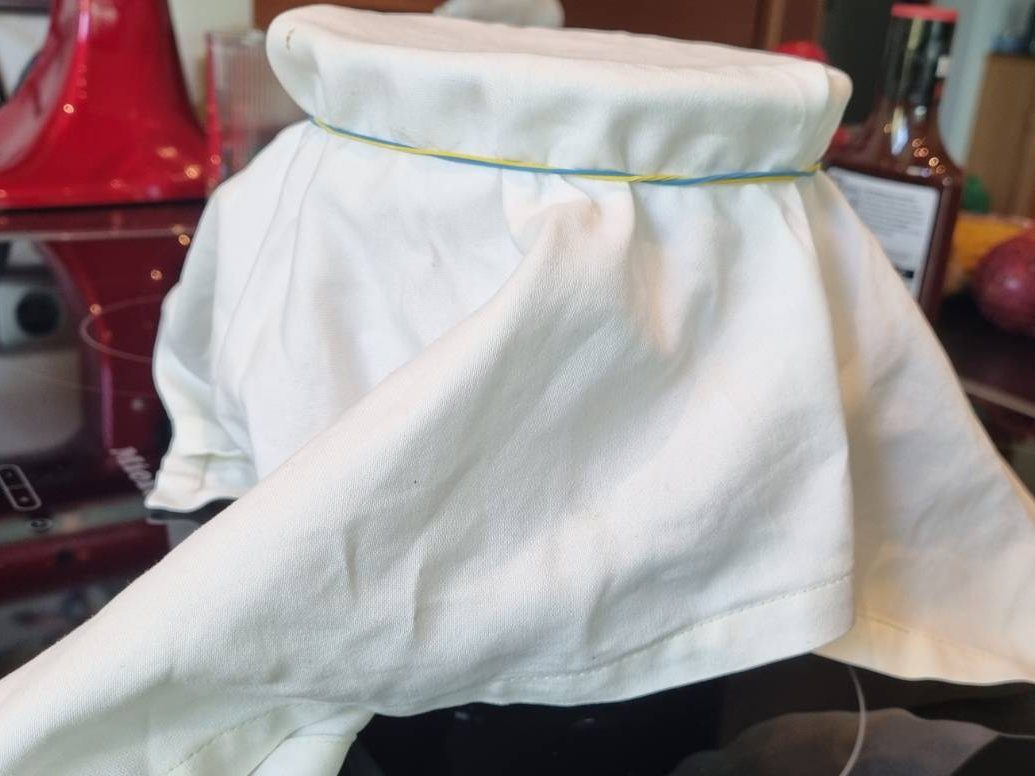
The jar needs to breathe during fermentation because kombucha requires some airflow, but it also needs protection from dust, fruit flies, and anything else that might land in it.
A tightly woven cloth, a coffee filter, or two or three layers of kitchen paper all work perfectly. Secure it over the mouth of the jar with a rubber band.
The key word is tightly woven. Cheesecloth on its own is not tight enough since fruit flies can get through. A tea towel folded once or twice is fine. A coffee filter is ideal.
What to avoid: Sealed lids during first fermentation. The jar needs to breathe. A sealed lid on a fermenting jar builds up CO2 pressure. Save the sealed lids for second fermentation in bottles.
A rubber band
To hold the cover in place. That’s it. Any rubber band that fits around the mouth of your jar.
A large pot
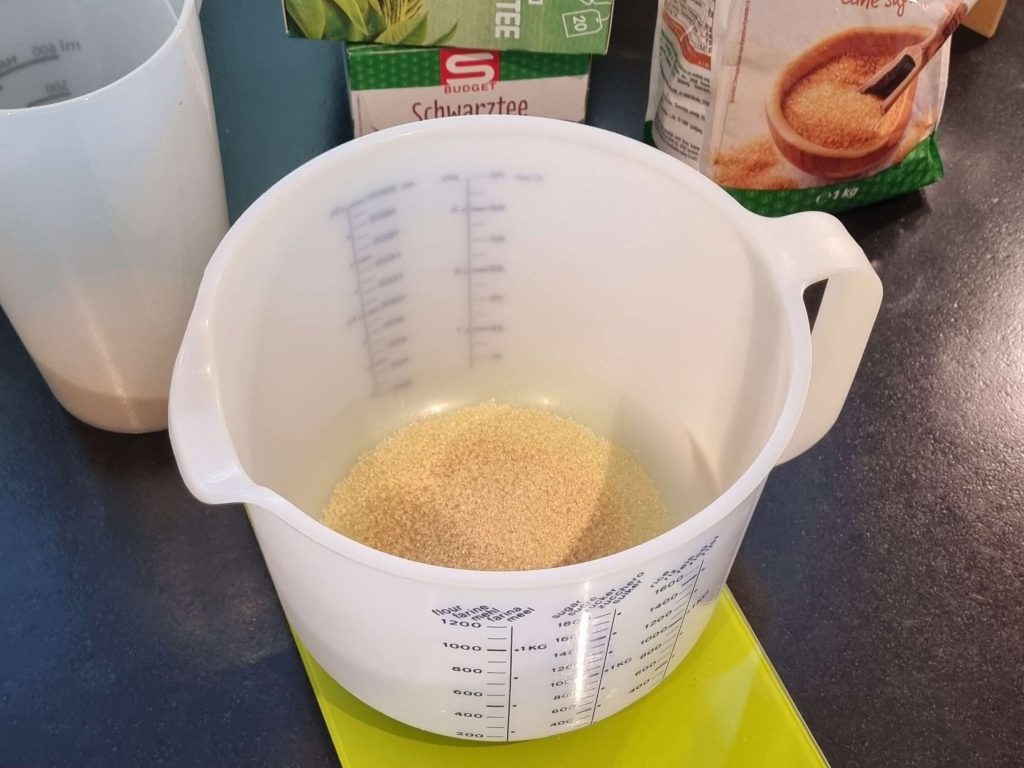
For brewing the sweet tea. Any large kitchen pot works: stainless steel, enamel, ceramic, durable plastic. You’re just boiling water and steeping tea, so there are no special requirements here.